
Wedding photographers: How to nail flash dancefloor photos: three different ways
The dancing is one of my favourite parts of a wedding day, as everyone lets their hair down and I can get some really kick-ass shots. And many wedding photographers have asked me how I got these shots using flash.
So for any wedding photographers who would like to know how I get my flash dancefloor photos, here are some tips!
METHOD 1: Rabbit in the headlights style AKA direct flash
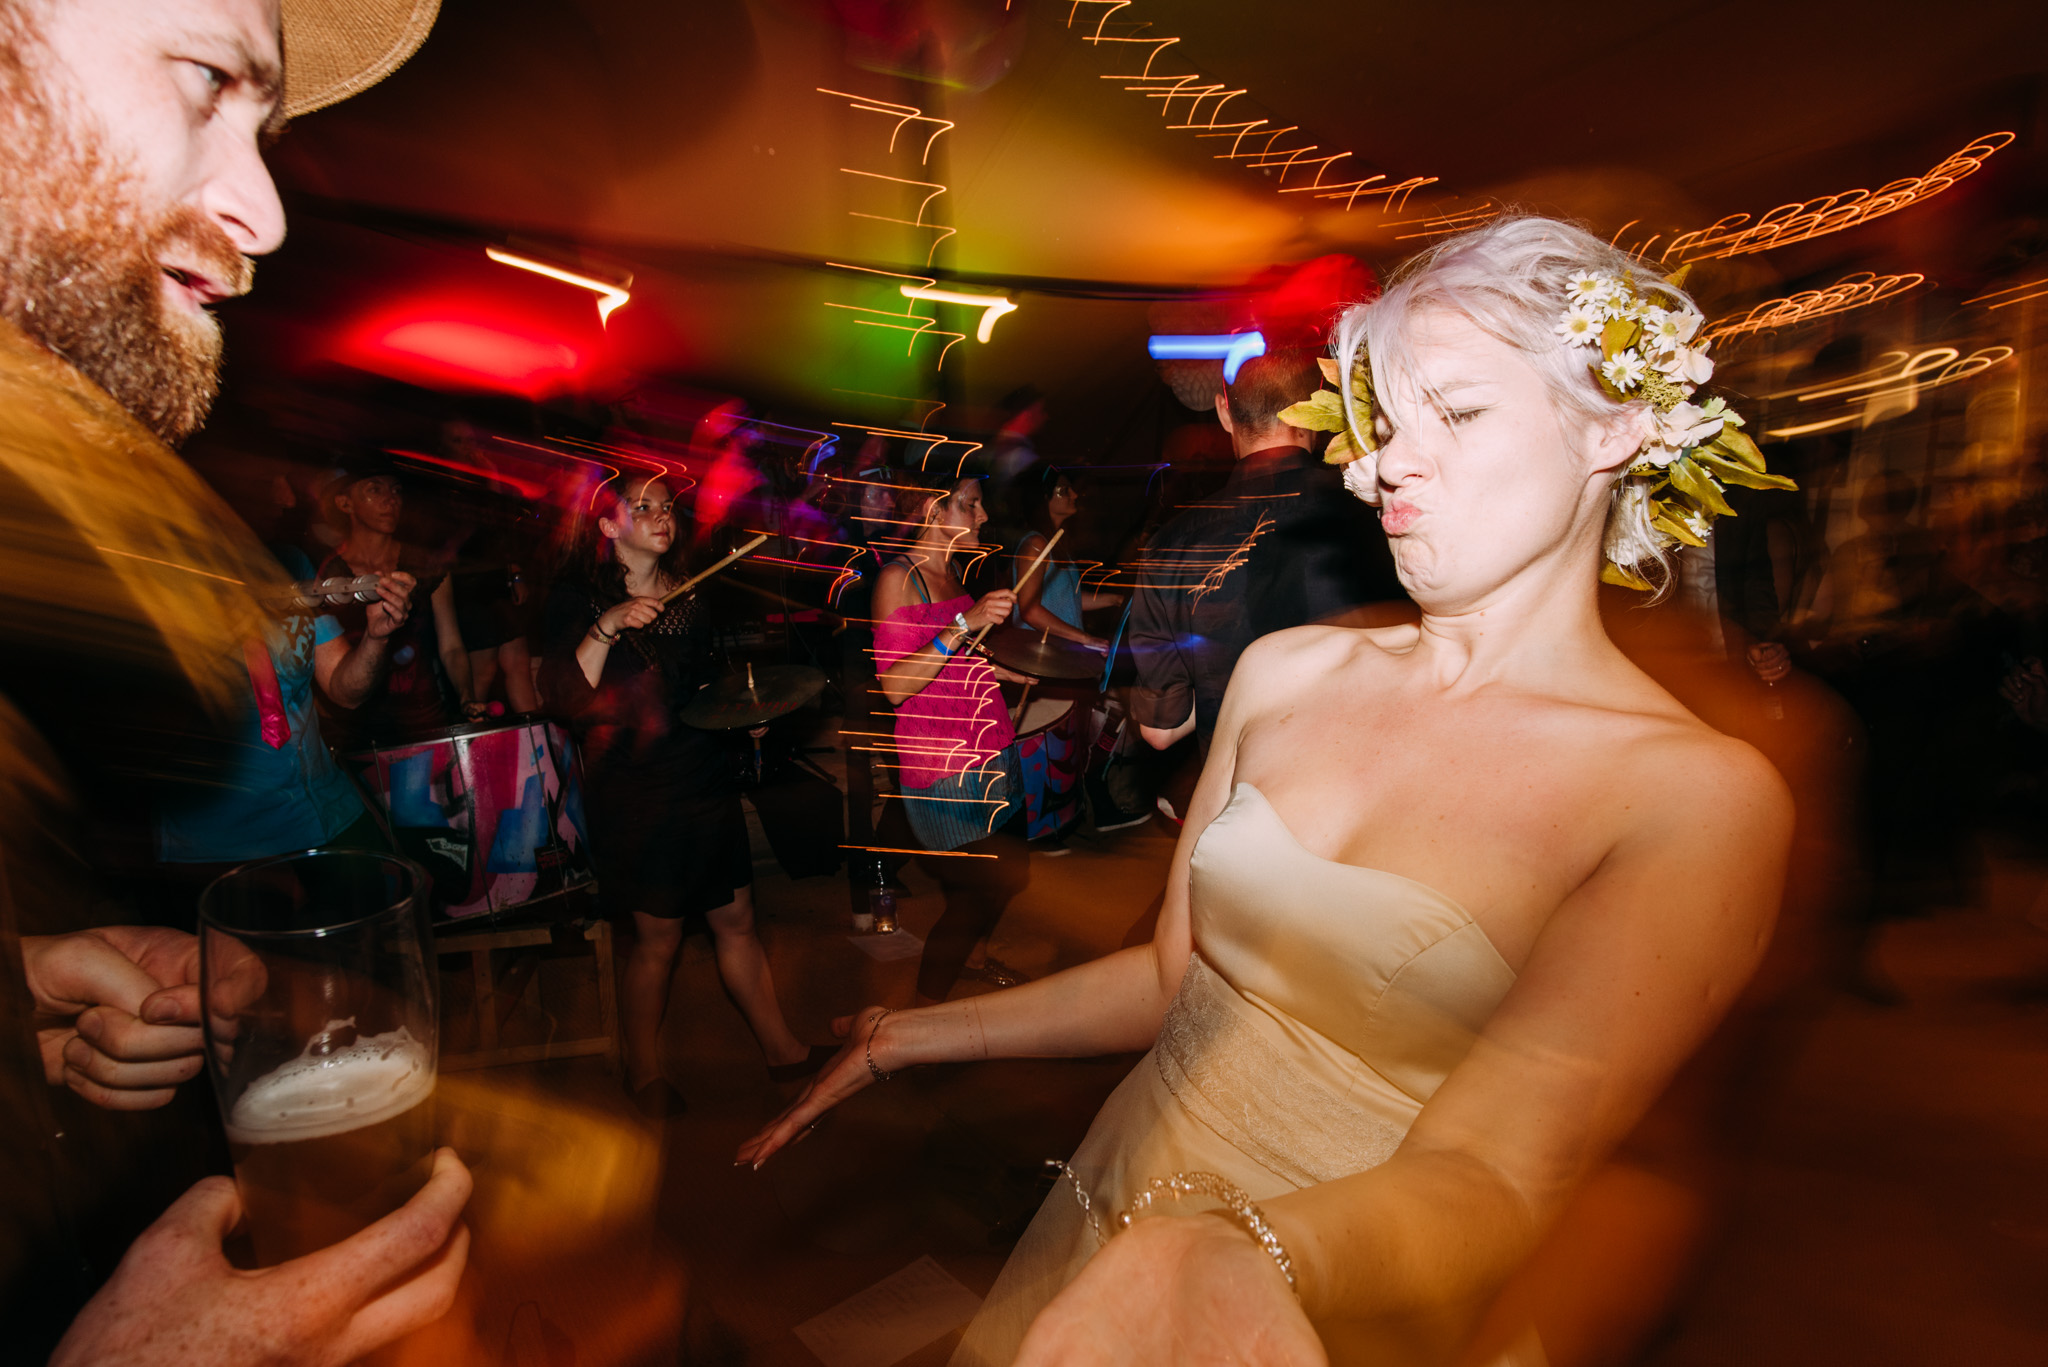
This style is great if the crowd is drunk (don't mind being flashed in the face), and if the room is butt ugly and you need to hide it.
Camera settings
It depends on how dark the room is so play around with these settings:
Shutter speed
My shutter is usually set to around 1/6th of a second (if you want more ambient light or if it's very dark, go slower)
F-Stop
My aperture is around f5.6-f11 depending on how dark it is
ISO
My ISO is low, but play around with this if it's too dark/bright
Flash settings
Pop your flash on manual, dial it to around 1/32 (again, try different intensities if it's too dark/bright)
Direction of flash
Stick the flash on your camera and point it forwards so you're blasting your subject in the face and momentarily blinding them
Zoom
Zoom the flash as far as it will go (I use around 180-200mm)
Manual focus
First of all I have my camera on manual focus so I don't waste time trying to focus. If you do switch your camera to manual focus, for the love of god don't forget to change it back before your next wedding!
Focal point
Focus on a point in the distance that is roughly how far you will be from your subject in most photos
Which lens and focal length
Use a wide-angle lens - anything from 16-35mm will work. A 50mm lens won't work. I use 16mm or 28mm and get in real close
Rabbit in headlights shooting tips
Get in close. Closer!
Study the dancefloor all the time and be ready to pounce when something happens
Listen to the song - if you know it has certain moves or rocking choruses then be ready to shoot people making those moves
Watch people's habits. If a person dancing has a habit of pointing their hands out or flicking their hair, don't worry if you missed it, chances are they'll do it again so keep an eye on them
Shoot loads - jump in for the shot and shoot several frames.
Don't look through the viewfinder - know what your focal length covers and just point and click - don't waste a single second composing!
Shoot from above, below and head height
If anything happens like a smashed glass, don't help clean up, take photos of the reaction!
Take a peek at your shots every so often to make sure you haven't knocked the focus ring
Be in the thick of it instead of standing on the outside looking in. And dance like a mad person. Your feet will get trampled.
Warp perspective with your wide-angle lens - so if someone has their arm outstretched, shoot from their hand
Look for weird things that look out of place, like a fancy dress prop
When choosing which photos to include in your gallery, look carefully at the background - you'll spot some hilarious things!
Light streaks
If you want movement from the lights (streaks etc) move the camera across the lights the instant you take the shot Shoot-flip! Shoot-flip! The slower the shutter the more light streaks you'll have. If you don't want light streaks, up the shutter speed but crank up the ISO to make up for it
Trouble-shooting
If you're getting a blurry subject, speed up your shutter and/or up the power of the flash. The flash is what freezes your subject, so it needs to be strong enough. If the flash is overexposing the photo, lower the ISO, speed up the shutter, or use a higher f-stop (narrower aperture).
If the room is already bright, this won't work as there's too much light coming in.
METHOD 2: Well lit with background separation - backlit and frontlit

If you want a cleaner look, a dramatic photo, or if you have a beautiful room you want to show off, go for these settings.
You'll need two flashes that can talk to each other (I use Godox ones with built in transmitters).
Stick one on the camera pointing at the ceiling with the bounce card up (it sits inside the flash, you just have to pull it out).
Put the other on a table, ledge, speaker, in a random guest's hands - anything that's between thigh and neck height, pointing towards you, not up.
Stand across the dancefloor to your off-camera flash and shoot towards it. The downside to this style is that you can't move without grabbing the flash and moving it too! This is where a voice-activated lightstand (AKA a human) comes in handy.
Camera settings
For camera settings, I initially expose for a natural light photo, then tweak from there. Generally my shutter is around 1/200, aperture around 2.8 and ISO dependent on the light in the room. I use autofocus with the focus set to Zone.
You need the on-camera flash set to Master and the off-camera flash set to Slave. Play around with flash power to get it right. I start at 1/32 and go up or down from there depending on how my test shots come out.
METHOD 3: The lazy way AKA bounce flash only

One flash set up
Expose for just below ambient, pop the flash on the camera, point it up, pull out the bounce card and shoot away the same as if it was backlit, using the settings above. You can move freely and get well-lit (if a little flat) photos. This is perfect if the room is fairly well lit already.
Never fear low light again!
Haha, I love those intrusive dancefloir images – really fun to read as well 🙂 *do you set flash on second curtain or do you fire on the first one with 1/6s?
Cheers! First – otherwise you get a random moment captured instead of the one you want!
‘Flash queen of the universe!’ 😉
Woohoo! Awesome nickname 🙂 Although could be misunderstood by non-photographers 😉